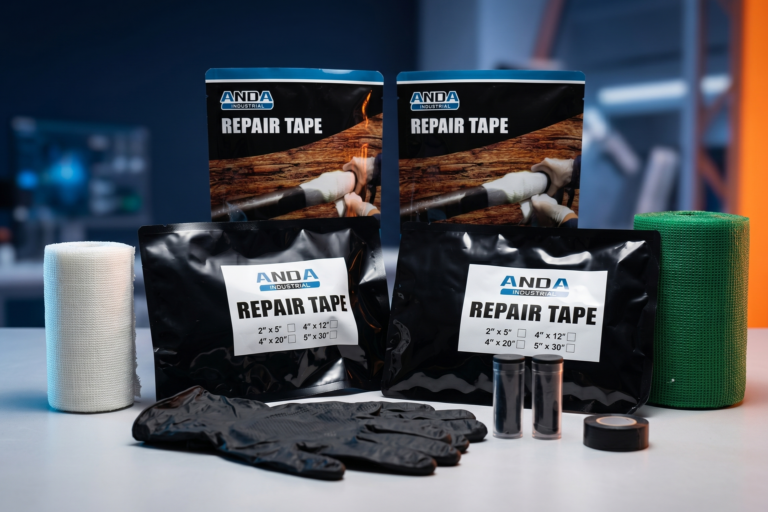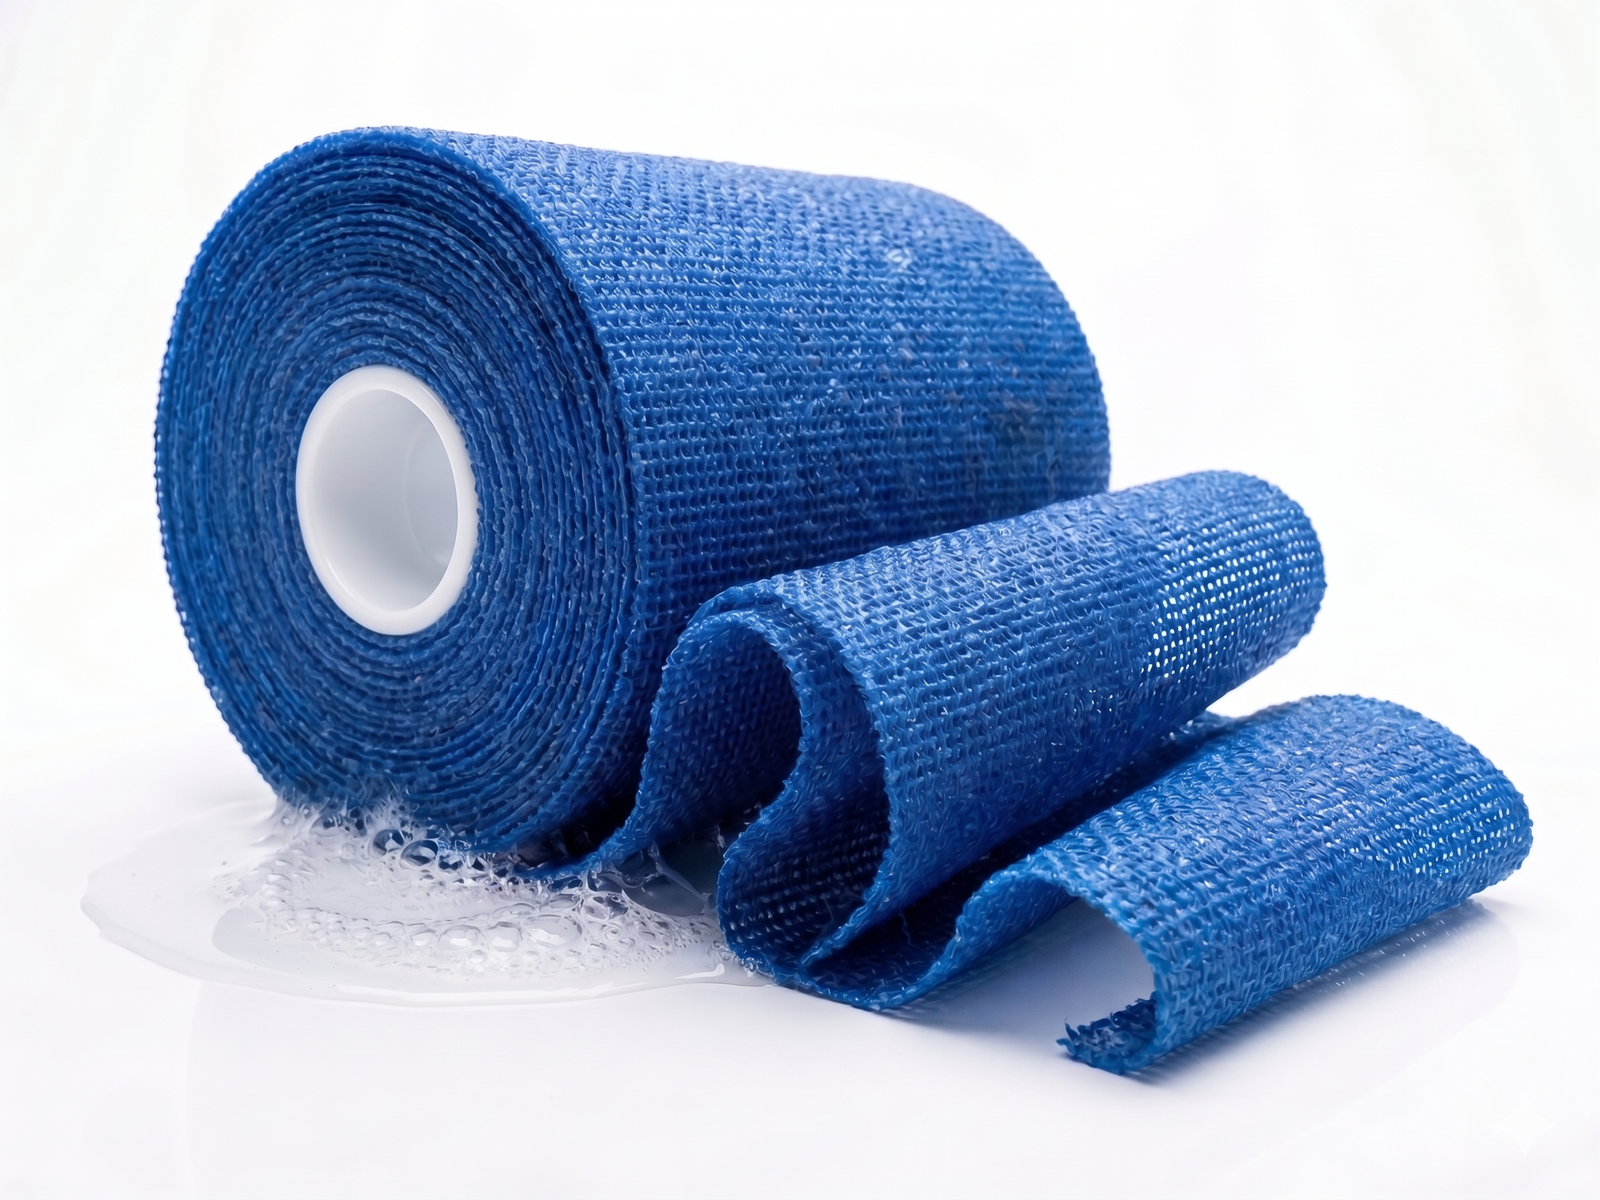
When a high-pressure line bursts on an active production floor, every second counts. However, rushing through a composite repair without following proper field procedures usually leads to secondary leaks, wasted materials, and extended downtime. The water-activated polyurethane resin on an industrial pipe repair bandage begins its chemical cross-linking reaction within 3 to 5 minutes of hydration. If your maintenance crew hesitates or applies the wrap loosely, the resin will harden before a secure pressure seal is formed. This step-by-step tutorial breaks down the exact field engineering sequence needed to apply a composite repair bandage smoothly, safely, and with maximum pressure resistance.
Preparation is 80% of Success: Surface Keying and Depressurization
The single most common cause of composite wrap failure is bad surface preparation. If you apply a resin-impregnated bandage over slick, greasy, or rusty metal, the internal fluid pressure will eventually force the cured sleeve to slide along the pipe body.
Before opening the vacuum-sealed aluminum foil pouch, isolate the pipeline and drop the system pressure completely. Clean away oil, scale, and surface bio-films using a fast-evaporating solvent cleaner. Next, use 60-grit sandpaper or an angle grinder to score the surface, achieving an St2 or Sa2.5 cleanliness standard with a rough anchor profile. To see how composite repairs integrate into comprehensive maintenance strategies across different piping systems, review our master guide on The Ultimate Guide to Industrial Pipe Leakage Solutions: Emergency Repair & Long-Term Prevention.
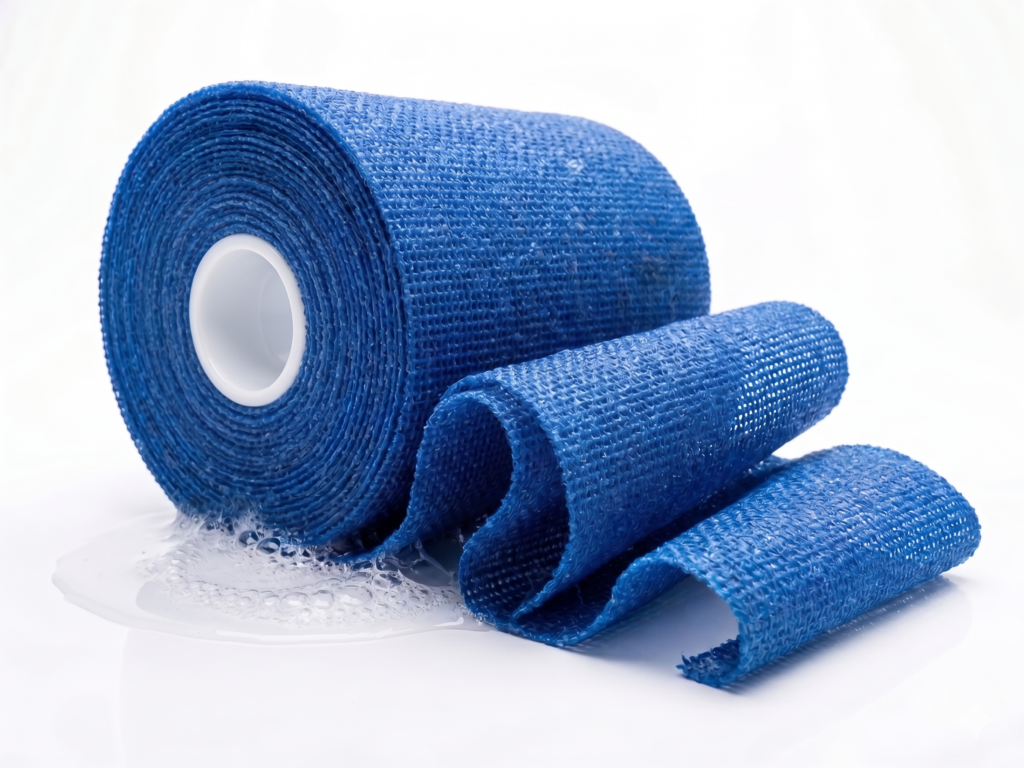
Figure 1: Mechanically abrading the substrate creates a coarse anchor profile for the composite resin matrix.
The 5-Step Field Protocol: From Activation to Full Cure
To achieve a long-lasting, high-PSI composite reinforcement on steel, copper, PVC, or HDPE lines, field technicians should follow this step-by-step procedure:
- Pack the Primary Defect Plug: Put on the chemical gloves included in the kit. Knead the steel-filled epoxy putty until it displays a completely uniform grey color. Firmly press the putty into the crack, pinhole, or pitted crater, tapering the edges smooth against the pipe wall.
- Submerge and Hydrate: Open the foil pouch and submerge the pipe repair bandage in fresh or salt water for 5 to 8 seconds. Squeeze the roll gently two or three times to ensure water penetrates the inner fiberglass layers, triggering the polyurethane catalyst.
- Apply High-Tension Wrapping: Begin wrapping the activated tape starting 2 to 3 inches upstream of the leak site. Pull the bandage firmly as you wrap to exert continuous radial tension (hoop stress). Overlap each layer by 50% as you spiral past the leak zone and 2 to 3 inches downstream.
- Build Structural Thickness: Continue wrapping back and forth over the leak area until you have applied a minimum of 8 to 12 overlapping layers. Thicker coverage directly increases the maximum pressure load the repair can hold.
- Mold and Consolidate: Wet your gloved hands and firmly smooth the wrapped surface in the direction of the spiral. This compacts the resin layers, squeezes out micro-air pockets, and forms a smooth composite outer shell.
Crucial Timing Rule: Once hydrated, you have a 3-to-5-minute working window before the resin begins to set. Have all tools ready, hands gloved, and the pipe prepped before dipping the roll into water.
Engineering Chart: Layer Count vs. Pressure Capacity
How many layers of composite wrap do you actually need? Use this practical reference chart to match your line operating pressure with the required wrap thickness:
| Target Operating Pressure | Recommended Bandage Layers | Typical Application Scenario |
|---|---|---|
| Low Pressure (< 75 PSI / 5 Bar) | 4 to 6 Layers | Gravity drainage lines, agricultural low-flow lines, vents |
| Medium Pressure (75 – 220 PSI / 5–15 Bar) | 8 to 10 Layers | Municipal water supply, plant cooling loops, wastewater mains |
| High Pressure (220 – 450 PSI / 15–31 Bar) | 12 to 15 Layers | Industrial slurry lines, boiler feeds, offshore fuel transport |
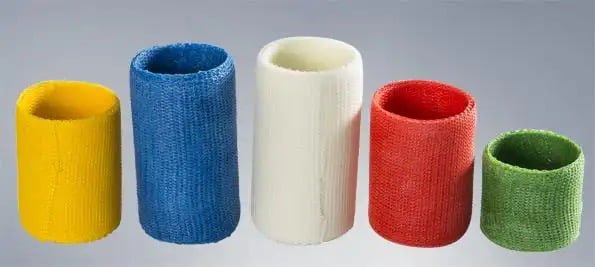
Figure 2: A properly consolidated wrap cures into an 85 Shore D rigid composite shell within 30 minutes.
Top Field Errors That Cause Immediate Leak Bypass
To guarantee your emergency repair holds during line repressurization, make sure your maintenance team avoids these three common mistakes:
- Over-soaking in Water: Leaving the bandage submerged for longer than 10 seconds washes away the active resin matrix, leaving behind raw fiberglass cloth that cannot cure properly.
- Wrapping Loose Layers: Without firm wrapping tension, air gaps form between layers. Air pockets weaken the wrap’s hoop strength and allow fluid to channel under the sleeve.
- Pressurizing Too Early: While the resin sets in 3 to 5 minutes, full polymerization takes approximately 30 minutes at room temperature (25°C). Always wait the full 30 minutes before opening main supply valves.
Equip Your Maintenance Teams with Professional-Grade Kits
Are you an industrial procurement manager, plant维保 supervisor, or regional MRO distributor looking for certified composite repair supplies? Andarepair provides flexible bulk pricing, custom kit configurations, and full technical field support.
Get a Bulk Price Quote & Technical Field Sample
Direct Engineering Consultation via WhatsApp: +86 18753386785 | Technical Data Sheets (TDS) supplied immediately upon inquiry.